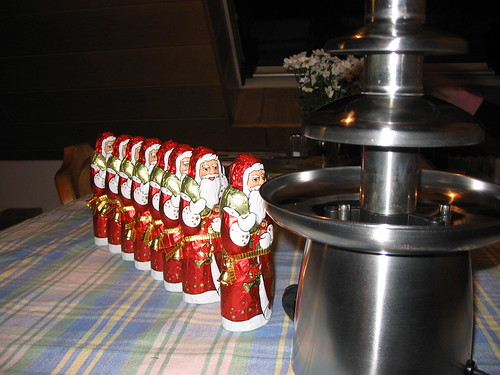
Here you see the half-price chocolate Santas marching to their doom.
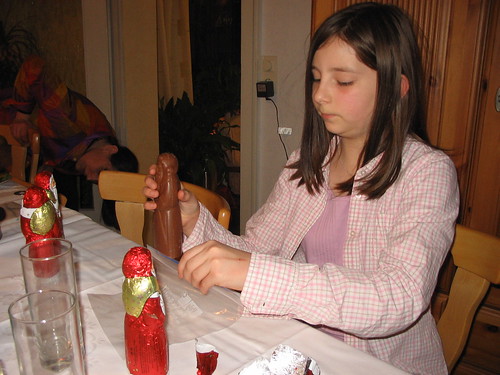
Here Hannah prepares the sacrifices.
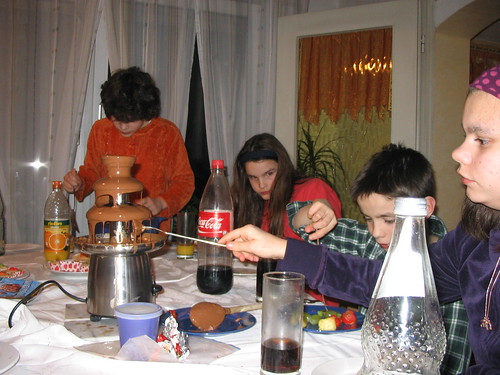
And here are the happy celebrants.
Finally, here are some tips on using the chocolate fountain, if you are ever so decadent as to purchase one, like us:
1. Make sure your chocolate is broken into very small pieces. Letting the children smash the chocolate Santas does not lead to very small pieces. Large pieces take forever to melt directly in the fountain, and you will end up getting a heat-gun out of your tool shed to speed the process up. As our friend said, it is part of the modern woman’s kitchen.
2. Even faster is melting the chocolate in the microwave first. Then you don’t have kids popping in every 30 seconds to pester you about the state of the fountain.
3. Cover everything in a 5-foot radius of the fountain in plastic. There will be drips, drops, and splats. The fountain really should come packaged with stain remover.
4. Fondue forks work pretty well for dipping fruit into hot (well, warm), melted chocolate without suffering burns, but some fruit is a bit too soft to dip well without breakage/smushing, like kiwi. Cupcake bites are right out.
5. Hot water does wonders in cleaning solidified milk chocolate off stainless steel if you don’t have a 9-year-old with a turbo-metabolism and a sweet tooth at hand.
No comments:
Post a Comment